- 211 Views
- 9 Min Read
- (0) Comment
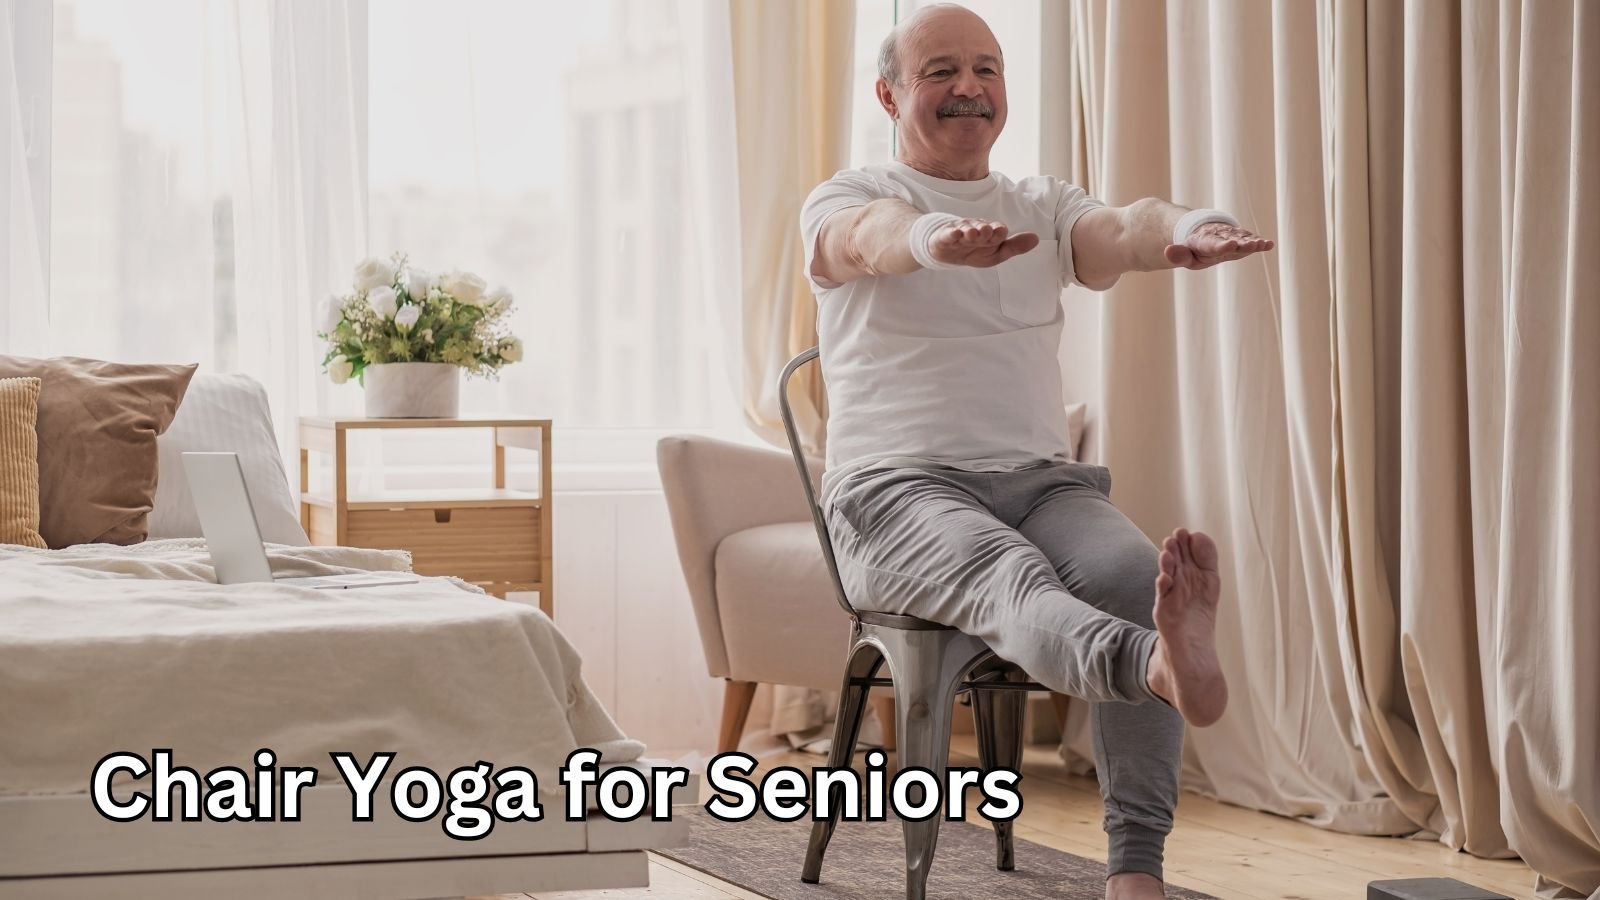
1. Introduction : Chair Yoga for Seniors
Chair yoga is a gentle yet deeply effective form of yoga that adapts traditional poses to be performed while seated—or using a chair for support. For seniors, especially those with limited mobility, balance issues, or joint pain, chair yoga offers a safe, accessible pathway to greater flexibility, strength, balance, and overall well-being.
Imagine enjoying a morning stretch that lingers through your shoulders and spine, or a gentle twist that eases muscle tension—without ever getting up from your seat. That’s the beauty of chair yoga: it removes barriers, whether they’re physical limitations, fear of falling, or lack of experience with traditional yoga. A practice grounded in mindfulness and deliberate movement, chair yoga not only nurtures your body, but also cultivates calm, confidence, and connection.
With the right focus on beginning chair yoga for seniors, you won’t need fancy equipment—just a sturdy chair, mindful breathing, and a willingness to start slow. In this post, we’ll explore how chair yoga can improve your daily life, guide you through gentle poses tailored for balance and flexibility, offer tips to build a sustainable routine, and share real-life stories of seniors embracing this practice.
By the end, you’ll feel empowered to begin your own chair yoga journey—step by gentle step, breath by mindful breath.
⸻
2. Top Benefits of Chair Yoga for Seniors
Chair yoga is much more than “sitting and stretching”—it’s a holistic approach to wellness that unlocks physical, mental, and emotional benefits, especially relevant for seniors.
1. Enhanced Flexibility & Range of Motion
Aging naturally tightens muscles and joints. Chair yoga helps maintain—and sometimes improve—flexibility in shoulders, spine, hips, and hamstrings. Through gentle movements done from a seated position, muscles stay limber without strain.
2. Improved Strength & Mobility
Even subtle seated movements can activate core, upper body, and lower body muscles. Over time, this helps build functional strength and promotes better mobility, from standing up more confidently to moving with greater ease.
3. Increased Balance & Fall Prevention
Balance can decline with age, but chair yoga provides a stable base to practice safe movement. Engaging bracing muscles while seated can enhance your balance—even standing transitions become more secure.
4. Relief from Joint Pain & Osteoarthritis
For many seniors, mobility can be hindered by painful joints, especially knees or hips affected by osteoarthritis. Chair yoga offers a low-impact, joint-friendly alternative that enhances range of motion without the pressure of standing or floor poses.
5. Mind-Body & Emotional Well-Being
Yoga, at its core, connects movement with breath—giving seniors a path to reduce stress, anxiety, and muscle tension, while promoting mental clarity, emotional ease, and a sense of calm.
6. Accessibility & Gentle Adaptability
Whether you’re recovering from surgery, living with chronic conditions like arthritis or Parkinson’s, or just starting out, chair yoga meets you where you are. It requires no special space, no fancy props, just a stable chair.
7. Holistic Health Benefits
Beyond muscles and joints, chair yoga supports better posture, improved circulation, deeper breathing, and improved digestive comfort. It can even enhance sleep quality, especially when performed as part of a regular routine.

⸻
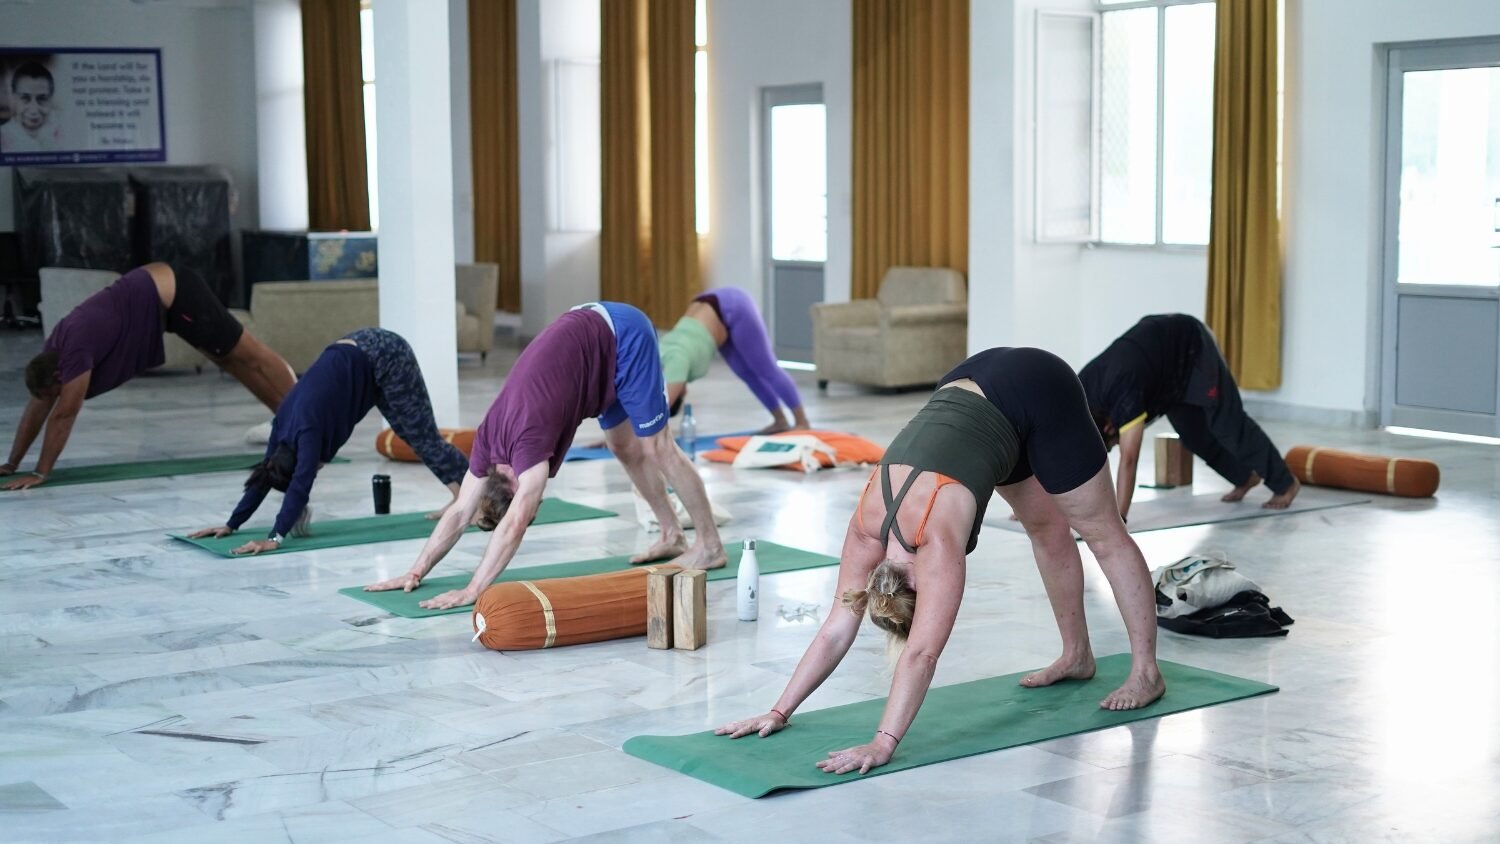
3. Core Chair Yoga Poses – Step-by-Step
Let’s explore a series of gentle chair yoga poses perfect for seniors—it’s all about mindful alignment, controlled movement, and breath awareness.
Pose 1: Seated Mountain (Tadasana)
• How-to: Sit upright, feet flat hip-width apart. Stack ears over shoulders, shoulders over hips. Lengthen through the crown of your head.
• Benefits: Aligns posture, cultivates awareness of body’s core support, and boosts spinal stability.
• Tips: Engage abdominals lightly, breathe steadily. If needed, place a cushion for added comfort.

Pose 2: Neck Release
• How-to: Sit tall, gently tip your right ear toward your right shoulder. Keep left shoulder relaxed; hold for 3–5 breaths. Repeat left side.
• Benefits: Releases neck tension, improves cervical mobility, relieves trapped stress.
• Adaptation: Keep your gaze forward to avoid overstretching.

Pose 3: Overhead Stretch
• How-to: Inhale deep, raise arms overhead, stretch fingertips toward the ceiling. Exhale, gently release down. Repeat 5 times.
• Benefits: Lengthens spine, opens shoulders, refreshes energy.
• Caveat: Seniors with shoulder issues—raise arms only as comfortably as safe.
Pose 4: Reverse Arm Hold / Heart Opener
• How-to: Inhale, open chest and reach arms behind, clasping hands if possible. Lift chest, gently broaden collarbones. Hold 3–5 breaths. Release with exhale.
• Benefits: Counteracts rounded shoulders, boosts respiratory ease.
• Modification: Use a strap or keep arms at mid-back if clasping is hard.
Pose 5: Chair Cat-Cow
• How-to: Place hands on thighs. Inhale, arch chest and tilt pelvis (Cow). Exhale, round spine and tuck chin (Cat). Repeat 8 cycles.
• Benefits: Mobilizes spine, eases tension in back, encourages core engagement.
• Safety Tip: Avoid if spinal injuries exist—move gently.
Pose 6: Seated Forward Fold
• How-to: From upright, exhale and gently fold forward from hips—lowering chin or chest to knees. Let arms hang or rest on shins. Hold 3–5 breaths; inhale back up.
• Benefits: Stretches hamstrings, eases back tension, calms the mind.
• Modifications: If tight hamstrings, place hands on thighs or shins without forcing.
Pose 7: Chair Pigeon (Hip Opener)
• How-to: Cross your right ankle over your left knee (figure-4 shape). Flex right foot. Keep spine long, hinge forward to deepen hip stretch. Hold 3–5 breaths. Switch sides.
• Benefits: Opens hips, releases lower back and glutes.
• Adaptation: Keep left foot wide if crossing is uncomfortable; don’t force.

Pose 8: Eagle Arms
• How-to: Cross right arm over left at elbows, then bring forearms/wrists to meet. Lift elbows up to shoulder height. Hold 3–5 breaths, then switch.
• Benefits: Increases shoulder flexibility, improves circulation, encourages focus.
• Modify: Skip forearm wrap—just cross arms or keep hands on shoulders.
Pose 9: Seated Twist
• How-to: Sit upright. Place right hand on outer left knee. Inhale; lengthen spine. Exhale, twist gently to left. Hold 3 breaths. Return and switch.
• Benefits: Improves spinal mobility, aids digestion, stretches torso.
• Note: Avoid deep twisting if you have spine issues—twist only as far as feels safe.

Pose 10: Heel Lifts & Ankle Circles
• How-to: Keeping heel on the floor, lift toes (or lift heels), repeat 8–10 times. Then lift one foot and trace slow circles at the ankle. Switch direction and feet.
• Benefits: Improves ankle mobility, improves circulation, aids leg strength.
• Tip: Hold seat for balance; use smaller movements as needed.
Breathing & Safety Tips:
• Breathe evenly—inhale through the nose, exhale through mouth (or nose if comfortable).
• Stay within a pain-free range; don’t push into discomfort.
• Use a stable, armless chair without wheels.
• Stop immediately if you feel dizzy, unsteady, or in pain.

⸻
4. Weekly Routine: How to Build It
Goal: Create a gentle, sustainable chair yoga practice that fits easily into your week.
Sample Beginner Routine (3 Days per Week, 20–25 minutes)
Warm-up (2–3 minutes):
• Gentle neck rolls, shoulder shrugs, seated toe/heel lifts.
Core Flow (15–18 minutes):
1. Seated Mountain (1 min)
2. Neck Release (2 sides × 3 breaths)
3. Overhead Stretch (5 breaths)
4. Reverse Arm Hold (3–5 breaths)
5. Cat-Cow (8 rounds)
6. Seated Forward Fold (3–5 breaths)
7. Chair Pigeon (Right + Left, 3–5 breaths each)
8. Eagle Arms (each side, 3–5 breaths)
9. Seated Twist (each side, 3 breaths)
10. Heel Lifts & Ankle Circles (each ankle, 8 reps/directions)
Cool-down (2–3 minutes):
• Gentle shoulder roll, closing eyes, a few calming breaths.
Progressing Over Time
• Increase hold times: Move from 3 to 5 breaths per pose.
• Add minor standing postures: If comfortable, transition to standing calf raises or supported chair squats.
• Add light weights (optional): Use light wrist weights or water bottles to gently increase muscle engagement.
Consistency Matters
Short daily practices (10–15 minutes) are more effective than infrequent long sessions. Choose a schedule that fits you—morning, afternoon, or pre-bed—and stick with it for at least 4 weeks to feel progress.
⸻
5. Real-Life Stories & Testimonials
“I never expected to feel so strong—just sitting. My shoulder pain has eased, and I feel steadier walking.”
“After hip surgery, chair yoga was the only safe way to move. I regained flexibility faster than I thought.”
Even brief chair stretches can lift mood, ease anxiety, or welcome a gentle end to the day. For caregivers, witnessing a senior family member transition into movement—even within a seat—can feel truly inspiring.
These experiences show the real-world impact of chair yoga—not as a workaround, but as a sincere path to renewed agility, connection, and joy.

⸻
6. Expert Tips & Best Practices
These insights can elevate your chair yoga experience:
1. Pair Breath with Movement: A foundational yoga principle—inhale to lengthen or open; exhale to deepen or release.
2. Use Supportive Props: Cushions, yoga belts, or resistance bands can enhance comfort.
3. Adapt as Needed: Every body is different—modify every pose to match your mobility.
4. Build Mind-Body Awareness: Even one conscious breath can steady your nerves or lift your spirit.
5. Stay Safe: Keep chair on non-slip surface; avoid poses after surgery unless cleared by a doctor.
6. Track Progress: Note how poses feel—improved range of motion, easier getting up, calmer mind.
7. Combine with Other Gentle Movement: Heel lifts, seated arm raises, or seated mini-dances offer joyful variation.
⸻
7. Frequently Asked Questions
• Is chair yoga effective?
Absolutely—it enhances flexibility, strength, balance, and mental wellbeing in a safe, accessible manner.
• Can anyone start, no matter the age?
Yes! Chair yoga meets you at your ability—whether you’re just beginning or reawakening to movement.
• What if I have arthritis or chronic pain?
Chair yoga is great for modifying to your comfort level. Many with joint conditions find movement easier and less painful.
• Are there any risks?
Risks are minimal when done mindfully. Always use a sturdy chair, move gently, and consult your healthcare provider if you’re unsure.
• How often should I practice?
Aim for 2–5 times weekly. Even 10–15 minutes daily offers meaningful benefits.
• What type of chair should I use?
A stable, armless chair with a flat seat works best. Avoid rolling or reclined chairs to maintain safety.
• Is breath important?
Yes—breathing is your movement’s guide. Match inhalations and exhalations with your motion to maximize benefit and safety.
⸻
8. Conclusion
Chair yoga isn’t just an easy alternative—it’s a thoughtful, inclusive invitation to movement, self-awareness, and renewed vitality. From improved flexibility and balance to renewed calm and confidence, its benefits transcend the chair.
Start today: take just five minutes to sit tall, lift arms, and breathe. Let yourself rediscover what gentle, mindful movement feels like. And if you’re ready for more, explore our 28-Day Chair Yoga for Seniors printable challenge—designed to help build a gentle habit, one breath at a time.
Ready to begin? Share how your practice goes—what you notice, what moves feel good, or what you’re curious about. Let’s grow this chairs-side community together. Bright days—and well-balanced steps—ahead!
Yoga Teacher Training Courses in Rishikesh

100 Hour Yoga Teacher Training in Rishikesh
200 Hour Yoga Teacher Training in Rishikesh
300 Hour Yoga Teacher Training in Rishikesh


Leave a comment: