
- 131 Views
- 20 Min Read
- (0) Comment
Learning the 12 Surya Namaskar poses from scattered YouTube videos and blog posts that all name the poses differently, count the rounds differently, and rush past the parts that actually matter, can be a genuinely confusing experience. Right?
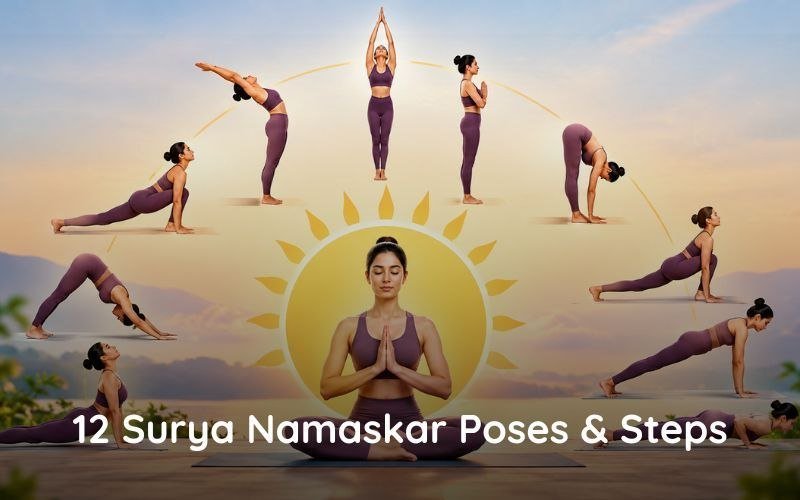
Well, you don’t need to stress about it anymore. In short, Surya Namaskar poses are a sequence of 12 linked yoga postures — Pranamasana, Hastauttanasana, Hastapadasana, Ashwa Sanchalanasana, Dandasana, Ashtanga Namaskara, Bhujangasana, Adho Mukha Svanasana, Ashwa Sanchalanasana, Hastapadasana, Hastauttanasana and Tadasana — practised with synchronised breathing to form one complete round of Sun Salutation. We put together this complete, step-by-step guide to make learning them a lot easier to follow.
BTW, this guide pairs well with our earlier piece on the seven chakras in the body, since breath-linked practices like Surya Namaskar work directly with that same subtle energy system.
So make sure to read the full breakdown below, and check out our guide to the power of Om chanting as well if you want to build a more complete morning practice.
What Is Surya Namaskar? Meaning, Origin and Why It Matters
Surya Namaskar, or Sun Salutation, combines 12 yoga poses into one continuous, breath-linked flow. “Surya” means sun and “Namaskar” means salutation, and the sequence was traditionally practised at sunrise as a gesture of gratitude to the sun.
Each Surya Namaskar pose moves the spine through a forward bend, a backbend, or a neutral stretch, which is what makes the sequence such a complete, full-body warm-up.
Today it’s taught in almost every yoga style — Hatha, Ashtanga, Vinyasa — because it builds strength, flexibility and breath awareness in a single, repeatable pattern.
Why Learn Surya Namaskar Steps From a Certified Teacher in Rishikesh?
Rishikesh is widely regarded as the yoga capital of the world, and it’s where most of the classical Surya Namaskar alignment cues you’ll read online actually originated.
- Alignment errors in poses like Bhujangasana or Ashwa Sanchalanasana are hard to self-correct from a video — a trained eye catches them instantly.
- Breath-to-movement timing, the real skill behind Surya Namaskar, is best learned live rather than counted from a blog post.
- At Atharv Yogshala, certified instructors correct posture pose-by-pose during 200-hour, 100-hour and 300-hour yoga teacher training courses in Rishikesh.
If you’re serious about practising Surya Namaskar correctly rather than just going through the motions, a few guided sessions save months of unlearning bad habits.
The Step by Step Flow
12 Surya Namaskar Poses at a Glance
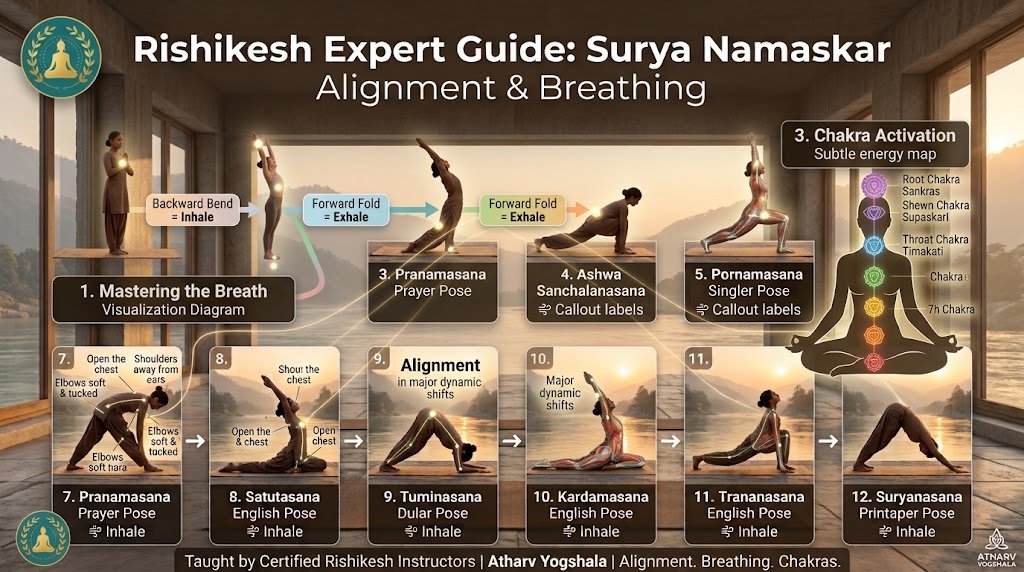
Here’s a quick-reference table of all 12 Surya Namaskar poses in order, with the breath cue for each — useful once you’ve learned the full sequence and just need a recap.
| # | Sanskrit Name | English Name | Breath | One-Line Focus |
| 1 | Pranamasana | Prayer Pose | Neutral breath | Stand tall, feet together, palms joined at the chest. |
| 2 | Hastauttanasana | Raised Arms Pose | Inhale | Sweep the arms up and arch gently back from the hips, not the lower spine. |
| 3 | Hastapadasana | Standing Forward Bend | Exhale | Fold forward from the hips, spine long, palms beside the feet. |
| 4 | Ashwa Sanchalanasana | Equestrian Pose (right leg back) | Inhale | Step the right leg back, left knee stacked over the ankle, gaze lifted. |
| 5 | Dandasana | Plank Pose | Inhale (hold) | Step the left leg back so the body forms one straight line from heels to head. |
| 6 | Ashtanga Namaskara | Eight-Limbed Salute | Exhale | Lower knees, chest and chin to the mat, hips lifted slightly. |
| 7 | Bhujangasana | Cobra Pose | Inhale | Slide forward and lift the chest, elbows soft, shoulders away from the ears. |
| 8 | Adho Mukha Svanasana | Downward-Facing Dog | Exhale | Lift the hips up and back into an inverted V, heels reaching toward the mat. |
| 9 | Ashwa Sanchalanasana | Equestrian Pose (left leg forward) | Inhale | Bring the right foot forward between the palms, left knee down, gaze lifted. |
| 10 | Hastapadasana | Standing Forward Bend | Exhale | Step the left foot forward beside the right and fold, spine long. |
| 11 | Hastauttanasana | Raised Arms Pose | Inhale | Roll up through the spine, sweep the arms overhead and arch gently. |
| 12 | Tadasana | Mountain Pose | Exhale | Return to standing, arms relaxed by the sides, palms together at the chest. |
12 Surya Namaskar Poses & Steps — Complete Guide
This is the full, step-by-step breakdown of all 12 Surya Namaskar poses — how to move into each one, the alignment cue that matters most, the breath it pairs with, and what it does for the body.
Move slowly through each yoga step the first few times. Once the transitions feel familiar and the breath pattern flows on its own, you can gradually pick up the pace.
Step 1: Pranamasana (Prayer Pose)
Breath: Neutral breath.
- How to do it: Stand at the front edge of the mat with your feet together or hip-width apart, weight spread evenly across both feet. Let the shoulders roll back and down, then bring the palms together in front of the chest as if in greeting.
- Alignment tip: Keep the elbows soft and the chin level — this is a resting pose, not a stretch, so there’s no need to squeeze the palms or tense the neck.
- Benefit: Settles the nervous system, balances body weight, and gives you a clean starting point to sync breath with movement for the rest of the sequence.
Step 2: Hastauttanasana (Raised Arms Pose)
Breath: Inhale.
- How to do it: Inhale as you sweep both arms up and slightly back, reaching from the fingertips rather than collapsing into the shoulders. Let the gaze follow the hands upward, and allow a gentle backward arch through the upper spine.
- Alignment tip: Push the hips forward a touch rather than bending sharply at the lower back — the stretch should be felt in the front of the body, from the heels to the fingertips, not compressed into the lumbar spine.
- Benefit: Opens the chest and shoulders, lengthens the abdominal muscles, and improves lung capacity by encouraging a fuller inhale.
Step 3: Hastapadasana (Standing Forward Bend)
Breath: Exhale.
- How to do it: Exhale and hinge forward from the hip joints, keeping the spine as long as possible on the way down rather than rounding immediately. Bring the palms flat to the floor beside the feet, bending the knees slightly if the hamstrings are tight.
- Alignment tip: Once the hands are placed, try to work the knees straighter with each exhale instead of forcing the fold from the start — the palms stay planted here for the rest of the round.
- Benefit: Stretches the hamstrings and calves, increases blood flow to the brain, and improves overall spinal flexibility over time.
Step 4: Ashwa Sanchalanasana — Equestrian Pose (right leg back)
Breath: Inhale.
- How to do it: Inhale as you step the right leg back as far as comfortable, lowering the right knee toward the mat. Keep the left foot planted flat between the palms with the left knee stacked directly above the left ankle, and lift the gaze forward.
- Alignment tip: Check that the front knee doesn’t drift past the toes — if it does, walk the front foot back slightly so the shin stays close to vertical.
- Benefit: Deepens the hip-flexor stretch on the back leg, builds strength in the front thigh, and prepares the spine for the backbend that follows.
Step 5: Dandasana (Plank Pose)
Breath: Inhale (hold).
- How to do it: Step the left leg back to meet the right, coming into a straight plank line from the heels through the crown of the head. Stack the wrists directly under the shoulders and draw the navel gently in toward the spine.
- Alignment tip: Resist the urge to let the hips sag or pike upward — a small mirror check or a few seconds of stillness here is usually enough to feel whether the line is truly straight.
- Benefit: Builds core, shoulder and wrist strength, and teaches the whole-body stability that supports every standing and balancing pose in yoga.
Step 6: Ashtanga Namaskara (Eight-Limbed Salute)
Breath: Exhale.
- How to do it: Exhale and lower the knees to the mat first, then the chest and chin, keeping the hips lifted just slightly off the floor. Draw the elbows close to the ribs rather than letting them splay outward.
- Alignment tip: The eight points — two feet, two knees, two hands, chest and chin — should all be in light contact with the floor at the same time; if the hips drop too low, lift them a fraction until the line feels supported.
- Benefit: Strengthens the arms, chest and upper back, and builds the pressing strength needed to transition smoothly into Cobra pose.
Step 7: Bhujangasana (Cobra Pose)
Breath: Inhale.
- How to do it: Inhale and slide the chest forward and up, keeping the lower ribs and hip points grounded on the mat. Press gently through the palms, bend the elbows softly rather than locking them, and draw the shoulders down away from the ears.
- Alignment tip: Lift with the back muscles first and let the arms assist rather than push through straight elbows — this protects the lower back from overextension while still opening the chest fully.
- Benefit: Strengthens the spine and back muscles, opens the chest and lungs for deeper breathing, and gently massages the abdominal organs.
Step 8: Adho Mukha Svanasana (Downward-Facing Dog)
Breath: Exhale.
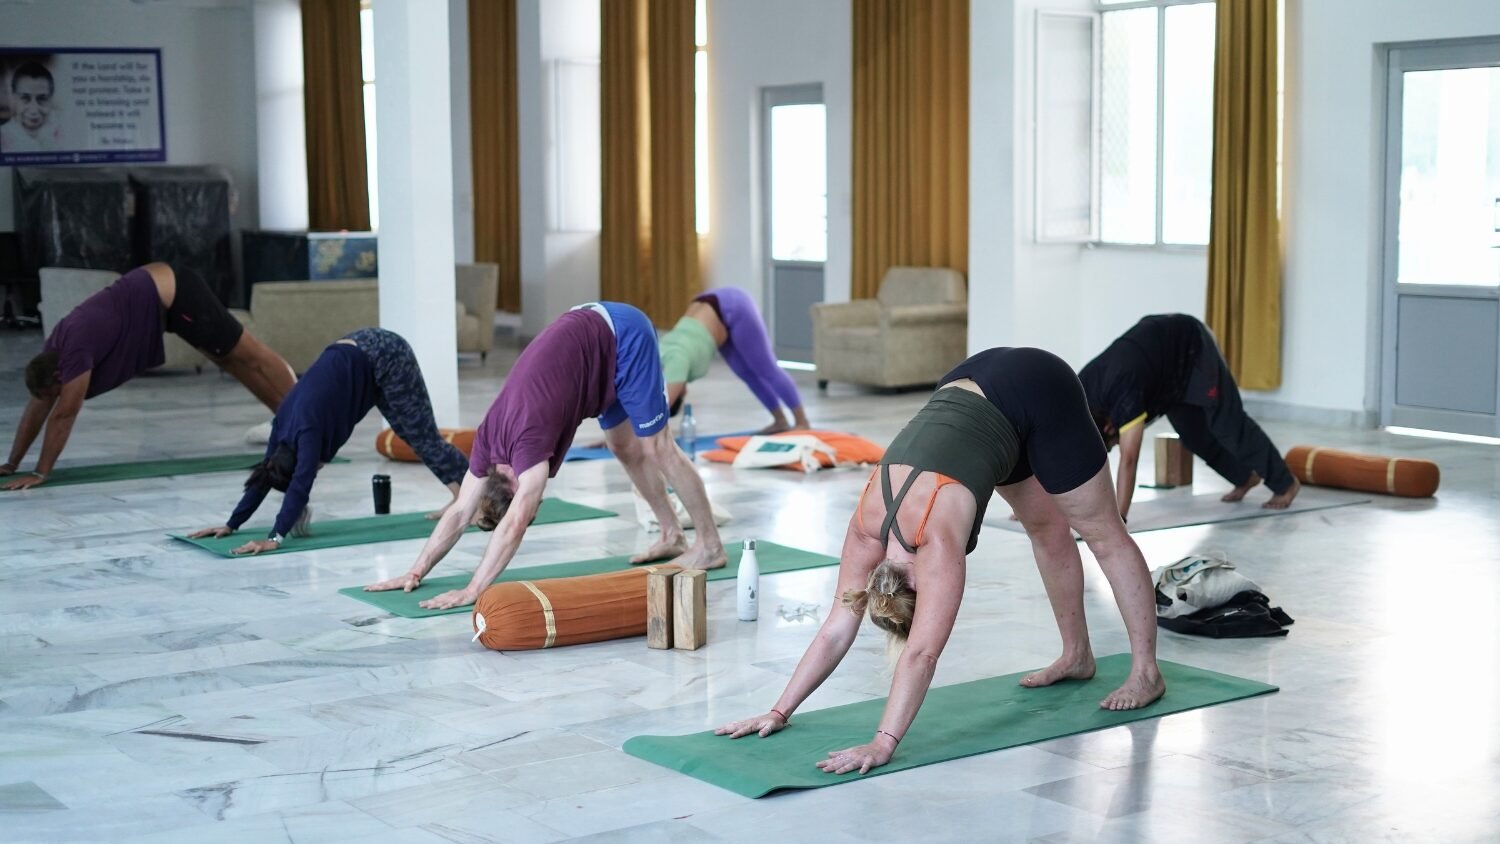
- How to do it: Exhale, tuck the toes under, and lift the hips up and back into an inverted V shape. Press the palms firmly into the mat, spread the fingers wide, and let the heels reach toward the floor without forcing them down.
- Alignment tip: Keep a soft bend in the knees if the hamstrings feel tight — a long, straight spine matters more here than flat heels.
- Benefit: Lengthens the spine, calves and hamstrings, relieves fatigue, and calms the mind by bringing the head gently below heart level.
Step 9: Ashwa Sanchalanasana — Equestrian Pose (left leg forward)
Breath: Inhale.
- How to do it: Inhale and bring the right foot forward to land between the palms, lowering the left knee to the mat behind you. Stack the right knee over the right ankle and lift the gaze forward, mirroring step 4 on the opposite side.
- Alignment tip: Use the hands to lightly frame the front foot as it steps forward — this keeps the transition controlled instead of a rushed hop.
- Benefit: Balances the hip-flexor and thigh stretch worked in step 4, keeping the practice even on both sides of the body.
Step 10: Hastapadasana (Standing Forward Bend)
Breath: Exhale.
- How to do it: Exhale as you step the left foot forward to meet the right, coming back into the standing forward fold with the spine as long as possible. Let the head hang heavy and relax the neck completely.
- Alignment tip: If the hamstrings pull tight, keep a gentle bend in the knees rather than rounding hard through the lower back to reach the floor.
- Benefit: Completes the second hamstring and spine release of the round, balancing the stretch worked earlier in step 3.
Step 11: Hastauttanasana (Raised Arms Pose)
Breath: Inhale.
- How to do it: Inhale and roll up through the spine one vertebra at a time, sweeping the arms overhead and into a gentle backward arch, exactly as in step 2. Keep the movement smooth rather than snapping upright.
- Alignment tip: Lead with the chest as you rise rather than the head, so the neck stays in a natural, unstrained line throughout the arch.
- Benefit: Re-opens the chest and abdomen after the forward folds, and signals to the body that the round is coming to a close.
Step 12: Tadasana (Mountain Pose)
Breath: Exhale.
- How to do it: Exhale and return to standing tall, releasing the arms down by the sides or bringing the palms together at the chest as in step 1. Stand still for a few breaths before beginning the next round.
- Alignment tip: Use these few quiet breaths to notice the heart rate, the warmth in the muscles and the quality of the breath — this pause is where the body actually registers the practice.
- Benefit: Grounds the nervous system after the sequence, completes one full round, and prepares the body to repeat the pattern leading with the opposite leg.
This completes one round of Surya Namaskar. To balance both sides of the body, repeat the round leading with the opposite leg in steps 4 and 9 — that is, step the left leg back first in the next round instead of the right.
Common Mistakes to Avoid While Practising Surya Namaskar Poses
- Rushing the transitions — moving faster than your breath allow strain in the wrists and lower back.
- Collapsing the shoulders in Bhujangasana instead of drawing them away from the ears.
- Letting the hips sag in Dandasana and Ashtanga Namaskara, which shifts load onto the lumbar spine.
- Holding the breath instead of syncing one breath to one movement — if you’re new to breath-linked practice, our guide to Agni Mudra is a gentle place to start building breath awareness off the mat.
- Skipping Tadasana at the end — this pose lets the nervous system register the practice before you move on.
How Many Rounds of Surya Namaskar Should You Do, and When?
There’s no single “correct” number — how many Surya Namaskar poses cycles you do depends on your goal, age and how long you’ve been practising.
| Goal | Recommended Practice |
| Beginners / mobility | 3–5 rounds daily, moving slowly and pausing between poses |
| General fitness / warm-up | 6–10 rounds before your main yoga or workout session |
| Weight management / stamina | 10–12+ rounds, gradually building pace over several weeks |
| Best time of day | Sunrise, on an empty stomach, facing the rising sun if possible |
Consistency matters more than count. Five focused rounds every morning will do more for your Surya Namaskar steps than an occasional 20-round session.
Benefits of Surya Namaskar
Health Benefits of Surya Namaskar (Backed by Research)
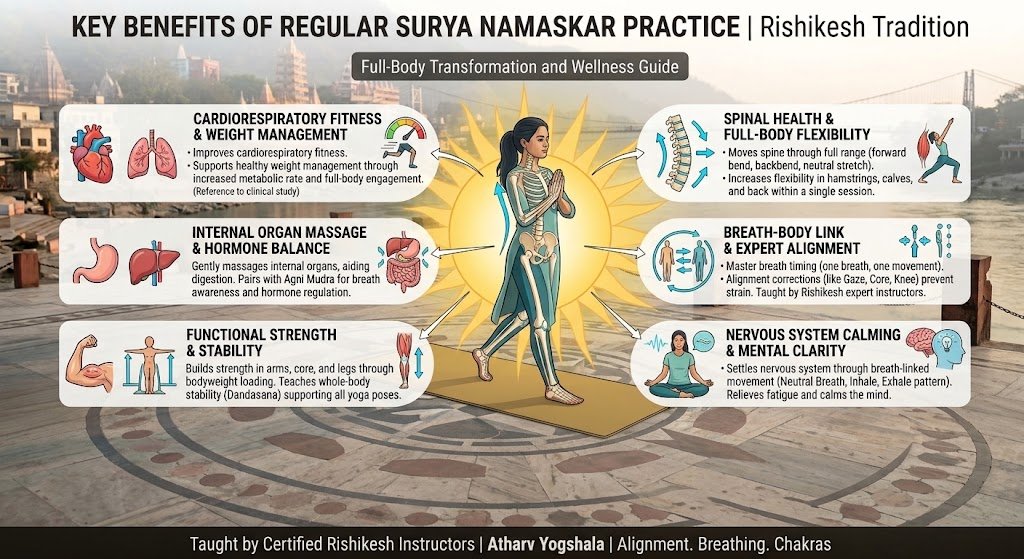
The benefits of Surya Namaskar aren’t just traditional claims — recent yoga science has studied the sequence’s effect on the body in measurable ways.
- Improves cardiorespiratory fitness and supports weight management, as shown in cardiovascular and metabolic response studies.
- Increases spinal and hip flexibility within a single session of practice.
- Builds functional strength in the arms, core and legs through repeated bodyweight loading.
- Supports mental calmness by pairing movement with steady, rhythmic breathing.
A 2011 clinical study published in Indian Journal of Physiology and Pharmacology (via PubMed) found that regular Surya Namaskar practice may improve cardiorespiratory fitness and support weight management — read the study on PubMed.
A 2025 systematic review of Surya Namaskar research across 445 adults concluded the sequence offers measurable physical and wellness benefits when practised consistently — read the full review published in Physical Education Theory and Methodology.
Surya Namaskar for Weight Loss: Fact or Myth?
Surya Namaskar can genuinely support weight management, but it works as part of a routine, not as a stand-alone fix.
The sequence engages large muscle groups across standing, lunging and plank positions, which raises heart rate and burns more calories than a static asana held in place.
Combine it with mindful eating and consistent sleep for visible results — see our holistic yogic lifestyle guide for how diet, rest and daily routine work alongside asana practice. Surya Namaskar alone, done occasionally, won’t replace a full fitness plan.
Who Should Avoid or Modify Surya Namaskar Poses?
Surya Namaskar is generally safe, but a few conditions call for caution or a modified sequence under supervision.
- High blood pressure, recent cardiac events or a history of stroke — the semi-inverted poses can overstimulate the heart.
- Slipped disc, sciatica or acute lower-back injury — the deep forward and backbends may aggravate the spine.
- Pregnancy after the first trimester, or during the first days of menstruation — practice only with a qualified teacher’s guidance.
- Wrist or shoulder injuries — modify Ashtanga Namaskara and Bhujangasana, or substitute gentler variations.
When in doubt, learn the modified sequence from a certified instructor rather than pushing through discomfort.
Learn Surya Namaskar the Right Way at Atharv Yogshala, Rishikesh
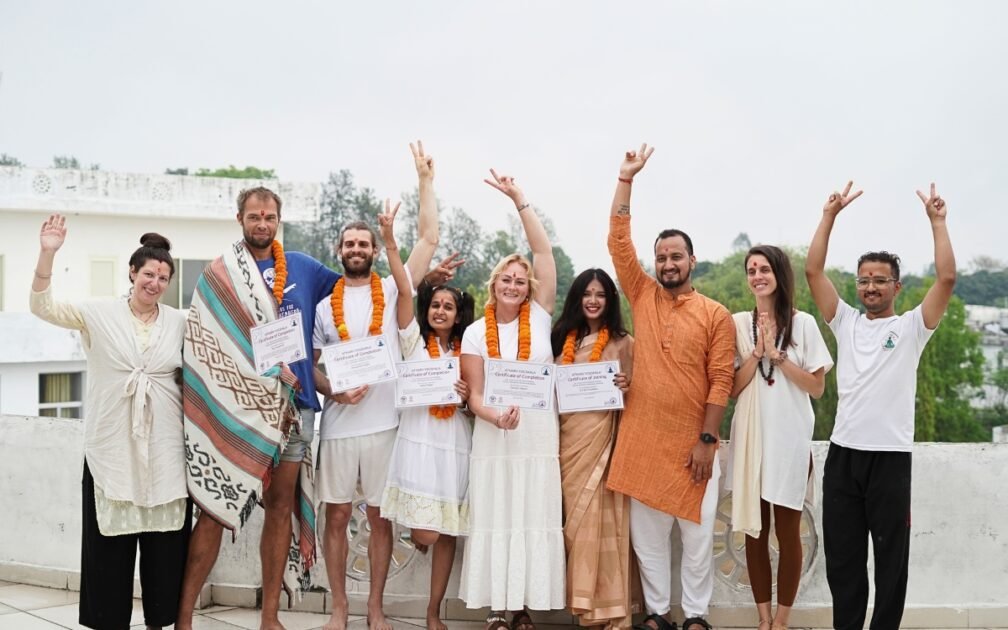
At Atharv Yogshala, Surya Namaskar isn’t taught as an isolated routine — it’s built into our 200-hour and 100-hour yoga teacher training courses in Rishikesh, where each pose is corrected in real time before it becomes muscle memory.
Our experienced Rishikesh-based teachers break the sequence down step by step, and students stay in comfortable on-campus accommodation with satvic meals that support the practice rather than work against it.
If you’d rather ease into it with a shorter format, our Rishikesh yoga retreats also include guided Surya Namaskar sessions alongside meditation and Himalayan excursions. You can apply for a course or check our FAQs page before you book.
Want the deeper roots of the practice? Our free Yoga Sutras of Patanjali PDF covers the philosophy behind asana practice, and our free Asana e-book is a handy pose-by-pose reference you can keep alongside this guide.
Frequently Asked Questions About Surya Namaskar Poses
What are the 12 poses of Surya Namaskar?
The 12 poses, in order, are Pranamasana, Hastauttanasana, Hastapadasana, Ashwa Sanchalanasana, Dandasana, Ashtanga Namaskara, Bhujangasana, Adho Mukha Svanasana, Ashwa Sanchalanasana, Hastapadasana, Hastauttanasana and Tadasana. Together they form one complete round of Surya Namaskar. Repeating the round on the opposite side completes a full cycle.
How many Surya Namaskar should a beginner do daily?
Beginners should start with 3 to 5 slow, controlled rounds each morning. Focus on alignment and breath rather than speed for the first few weeks. You can gradually increase the count once the sequence feels comfortable.
What is the best time to practise Surya Namaskar?
Sunrise, on an empty stomach, is considered the ideal time to practise Surya Namaskar. Practising facing the rising sun is traditional but not compulsory. If mornings aren’t possible, any time with a light stomach works fine.
Can complete beginners learn Surya Namaskar steps safely?
Yes, Surya Namaskar is beginner-friendly when the poses are learned gradually under guidance. Start with fewer rounds and modify poses like the plank or cobra if needed. A certified teacher can adjust the sequence to your flexibility level.
Does Surya Namaskar help with weight loss?
Surya Namaskar can support weight management by raising heart rate and engaging major muscle groups. It works best alongside balanced eating and consistent practice, not as a stand-alone solution. Results build gradually over weeks, not days.
Is Surya Namaskar the same as other yoga asanas?
No, Surya Namaskar is a linked sequence of 12 poses rather than a single static asana. It combines forward bends, backbends and neutral poses in one continuous, breath-synchronised flow. This is what makes it a complete practice on its own.
Is 12 rounds of Surya Namaskar enough for a full workout?
For general fitness and flexibility, 10 to 12 rounds can serve as a solid full-body warm-up or standalone practice. Athletes or those seeking intense weight loss may pair it with additional yoga asanas or cardio. Listen to your body rather than chasing a fixed number.
Who should avoid practising Surya Namaskar?
People with high blood pressure, recent heart conditions, slipped disc, sciatica, or in later stages of pregnancy should avoid or modify the sequence. Always consult a doctor or a certified yoga teacher before starting if you have an existing health condition. Modified versions are usually available under supervision.
What breathing pattern should I follow during Surya Namaskar?
Each pose is paired with either an inhale or an exhale — backward-opening poses use inhalation, and forward-folding poses use exhalation. One breath should match one movement throughout the round. This breath-body link is what separates Surya Namaskar from simple stretching.
Where can I learn Surya Namaskar correctly in Rishikesh?
Atharv Yogshala in Rishikesh teaches Surya Namaskar as part of its structured yoga teacher training and retreat programs, with real-time pose correction from certified instructors. Sessions are designed for both complete beginners and those refining their alignment. You can check current course dates on the official website.
Before You Begin Your Surya Namaskar Practice
Surya Namaskar rewards patience — the 12 poses look simple on paper, but correct alignment and breath timing take guided practice to internalise.
For more foundational reading, see our posts on the seven chakras in the body and the science behind chanting Om, both useful companions to a daily Surya Namaskar practice.
Ready to learn Surya Namaskar the right way? Explore yoga teacher training courses at Atharv Yogshala and book your spot in Rishikesh.
Yoga Teacher Training Courses in Rishikesh
100 Hour Yoga Teacher Training in Rishikesh
200 Hour Yoga Teacher Training in Rishikesh
300 Hour Yoga Teacher Training in Rishikesh



Leave a comment: